
| Version 14 (modified by jazz, 15 years ago) (diff) |
|---|
hadoop4win 開發筆記
0.1.4 版
- 0.1.4 新版想加入的功能
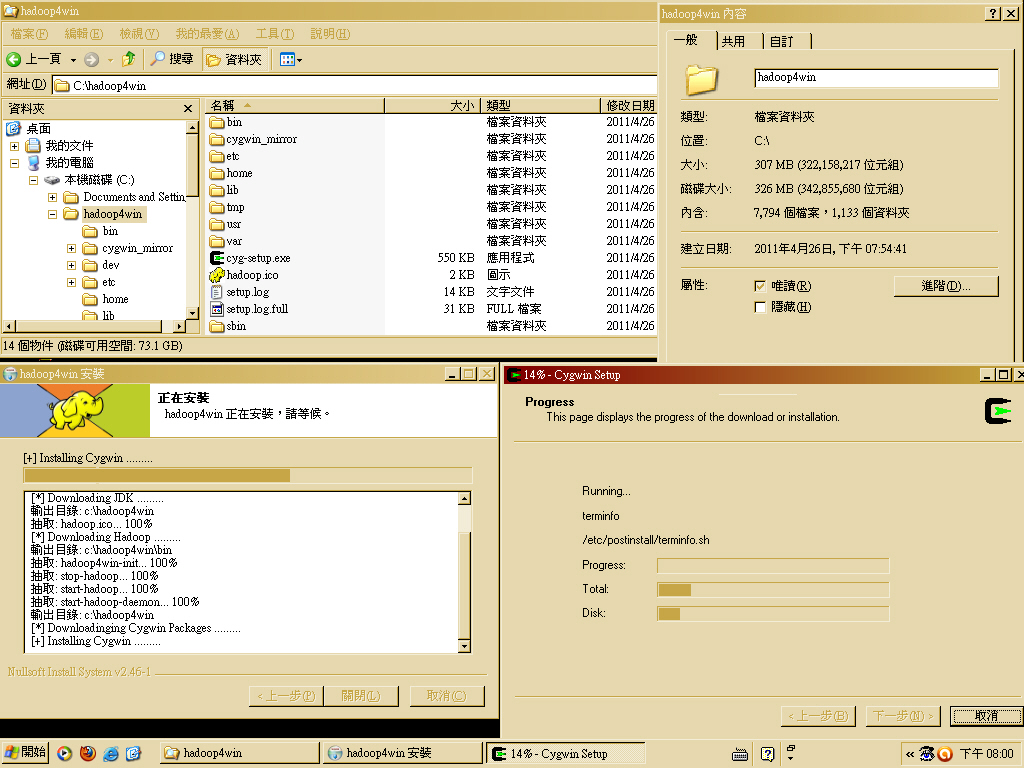
- 更新 Hadoop、HBase 版本 - 考慮置放一個檔案於網站,以免網路安裝版本一段時間後便無法正常運作。
- NSIS 安裝檔
- [文件] NSIS 繁體中文版說明文件
- 在 Debian / Ubuntu 系列有 nsis 的套件,只是需要學習怎麼使用。
~$ sudo apt-get install nsis
2010-12-21
- 學習使用 EclipseNSIS
- [限制] 目前 EclipseNSIS 並不支援 Linux - 開發者覺得工程浩大,暫時不會改。
- [結論] 光安裝就有點麻煩,得先裝 Eclipse 3.5 sr1 版本,然後還有 NSIS 、EclipseNSIS Plugin 要裝。若只是要產生安裝檔,似乎有點工程太大。加上仔細看了一下介紹,似乎都要寫 NSIS Script 腳本,EclipseNSIS 只是多了 InstallOption 的介面設計工具罷了。所以還是改用指令好了~
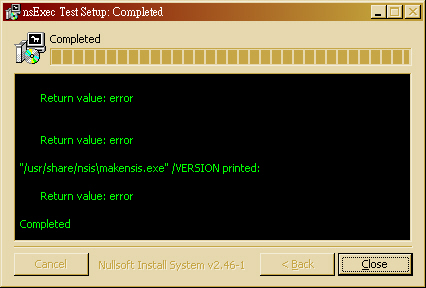
- 在 Ubuntu 10.04 底下測試 NSIS 指令 - 其實只要找對範例程式,也不難寫啦~drbl-winroll 應該是用 nsExec 寫的。
~$ sudo apt-get install nsis
~$ cp /usr/share/doc/nsis/Examples/nsExec/test.nsi .
~$ makensis test.nsi

... 略 ...
Processed 1 file, writing output:
Adding plug-ins initializing function... Done!
Processing pages... Done!
Removing unused resources... Done!
Generating language tables... Done!

Output: "nsExec Test.exe"
Install: 2 pages (128 bytes), 3 sections (3144 bytes), 46 instructions (1288 bytes), 47 strings (946 bytes), 1 language table (198 bytes).
Datablock optimizer saved 8092 bytes (~13.4%).

Using zlib compression.

EXE header size:               48128 / 50688 bytes
Install code:                    987 / 6032 bytes
Install data:                   4046 / 27660 bytes
CRC (0x93CB145C):                  4 / 4 bytes

Total size:                    53165 / 84384 bytes (63.0%)
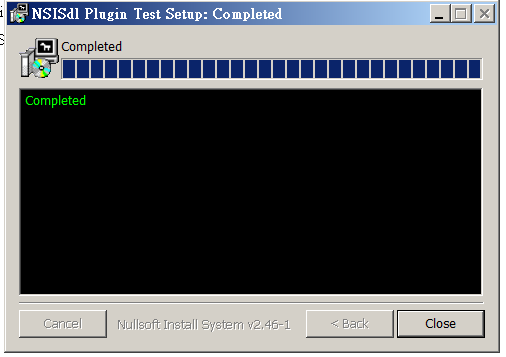
- 如果要設計網路安裝版,倒也可以用 NSISdl 這個 plugin 來開發。簡單寫一個測試範例,還算蠻簡單的。(注意:底下用 \$ 是為了配合 cat 語法,若直接貼程式碼請拿掉!)
~$ cat > NSISdl.nsi << EOF
Name "NSISdl Plugin Test"
OutFile "NSISdl.exe"

ShowInstDetails show

Section "Download Hadoop"
	NSISdl::download /TIMEOUT=30000 http://ftp.twaren.net/Unix/Web/apache//hadoop/core/hadoop-0.20.2/hadoop-0.20.2.tar.gz hadoop-0.20.2.tar.gz
	Pop \$0
	StrCmp \$0 "success" +3
		MessageBox MB_OK "Download failed: \$0"
		Quit
SectionEnd
EOF
~$ makensis NSISdl.nsi
- 產生出來的 NSISdl.exe 在 Windows 7 上執行的結果如下圖:


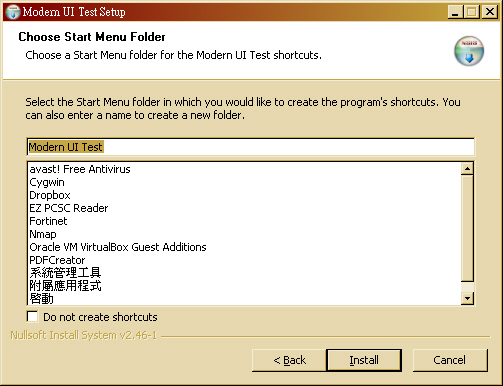
- [文件] 多重使用者身份問題:README.MultiUser.gz 這個文件說明了 NSIS 幫忙判斷使用者是否具備 Admin 或 PowerUser 權限的寫法。而 README.StartMenu 則說明了怎麼產生在開始選單的目錄。
~$ zcat /usr/share/doc/nsis/README.MultiUser.gz | less
~$ less /usr/share/doc/nsis/README.StartMenu
- 學習讀取 ini 設定檔 - [參考] /usr/share/doc/nsis/Examples/{FileFunc?.nsi.gz, FileFunc?.ini}
- 使用 ReadINIStr 這個語法,以 FileFunc?.nsi 為例。
- 首先,第一步是找到 INI 檔案的路徑。第 17 行設定 INI 這個變數。
- 第 723~727 行,首先 .onInit 這個函數
- 用 InitPluginsDir 這個語法設定 $PLUGINSDIR 目錄變數
- 用 GetTempFileName 這個語法會在 $PLUGINSDIR 目錄產生一個暫存檔,並回傳檔名存放於 $INI 中。
- 用 File 把 FileFunc?.ini 拷貝存放到 $INI 的路徑去。
GetTempFileName 使用者變數(輸出) [暫存檔路徑]
File [/nonfatal] [/a] ([/r] [/x 檔案|通配符 [...]] (檔案|通配符) [...] | /oname=輸出路徑\檔案名稱 輸入路徑\檔案名稱)
 17 Var INI

723 Function .onInit
724         InitPluginsDir
725         GetTempFileName $INI $PLUGINSDIR
726         File /oname=$INI "FileFunc.ini"
727 FunctionEnd
 19 Var STATE
 96         ReadINIStr $STATE $INI "Field 1" "State"
- 4.8.1.45 XPStyle 預設為 off,可用的設定值為 on 或 off。設定是否把 XP 外觀新增到安裝程式裡。當運行在 Windows XP 時一個 XP 外觀使得安裝程式控件使用新的 XP 樣式。這個設定也會影響卸載程式。
0.1.5 版
- 0.1.5 新版想加入的功能
- 整合 Eclipse 開發工具
Attachments (28)
- 10-12-21_NSISdl_complete.png (14.5 KB) - added by jazz 15 years ago.
- 10-12-21_NSISdl_result.png (13.3 KB) - added by jazz 15 years ago.
- 11-04-15_nsExec_Test.jpg (71.5 KB) - added by jazz 15 years ago.
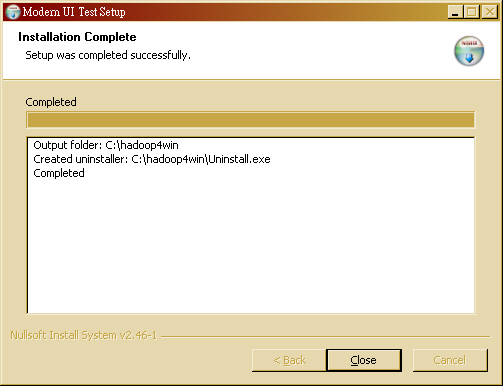
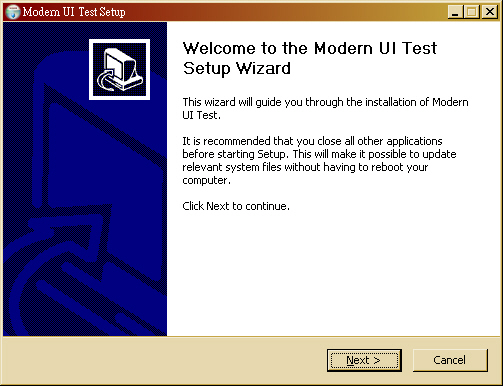
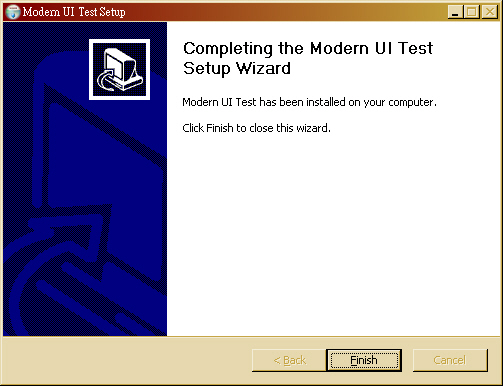
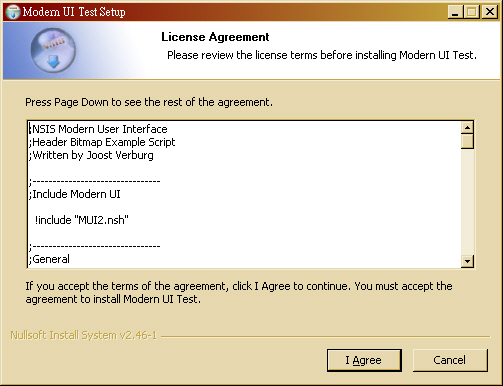
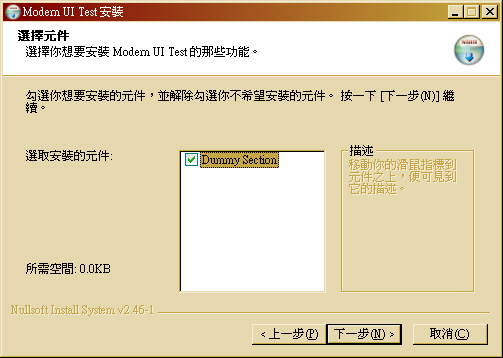
- 11-04-15_MUI_Basic_1.jpg (96.8 KB) - added by jazz 15 years ago.
- 11-04-15_MUI_Basic_2.jpg (96.6 KB) - added by jazz 15 years ago.
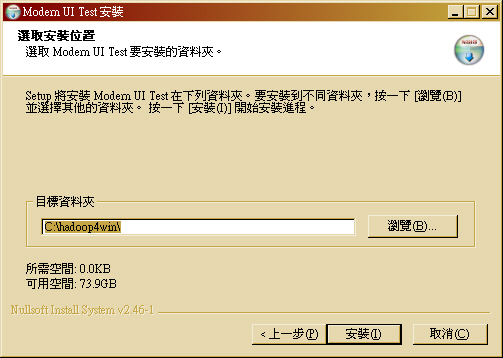
- 11-04-15_MUI_Basic_3.jpg (95.5 KB) - added by jazz 15 years ago.
- 11-04-15_MUI_Basic_4.jpg (75.2 KB) - added by jazz 15 years ago.
- 11-04-15_MUI_Welcome.jpg (114.0 KB) - added by jazz 15 years ago.
- 11-04-15_MUI_Finish.jpg (101.2 KB) - added by jazz 15 years ago.
- 11-04-15_MUI_HeaderBitmap.jpg (99.7 KB) - added by jazz 15 years ago.
- 11-04-15_MUI_StartMenu.jpg (104.3 KB) - added by jazz 15 years ago.
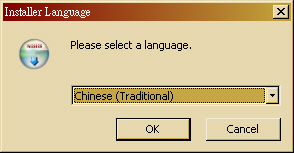
- 11-04-15_MUI_MultiLang_1.jpg (31.6 KB) - added by jazz 15 years ago.
- 11-04-15_MUI_MultiLang_2.jpg (101.8 KB) - added by jazz 15 years ago.
- 11-04-15_MUI_MultiLang_3.jpg (91.9 KB) - added by jazz 15 years ago.
- 11-04-15_MUI_MultiLang_4.jpg (95.4 KB) - added by jazz 15 years ago.
- 11-04-15_MUI_MultiLang_5.jpg (57.6 KB) - added by jazz 15 years ago.
- 11-04-15_MUI_Uninstall.jpg (69.7 KB) - added by jazz 15 years ago.
- 11-04-20_hadoop4win.png (84.4 KB) - added by jazz 15 years ago.
- 11-04-20_hadoop4win-nsis.png (6.1 KB) - added by jazz 15 years ago.
- 11-04-20_hadoop4win-setup-net.jpg (76.0 KB) - added by jazz 15 years ago.
- 11-04-20_hadoop4win-unsetup.jpg (77.4 KB) - added by jazz 15 years ago.
- cygwin-1.5.25.log (2.7 KB) - added by jazz 15 years ago.
- 11-04-26_hadoop4win_size.png (421.1 KB) - added by jazz 15 years ago.
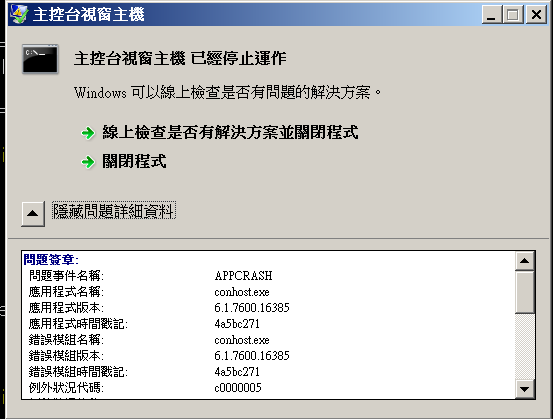
- 11-04-11_win7_conhost_error.png (22.6 KB) - added by jazz 15 years ago.
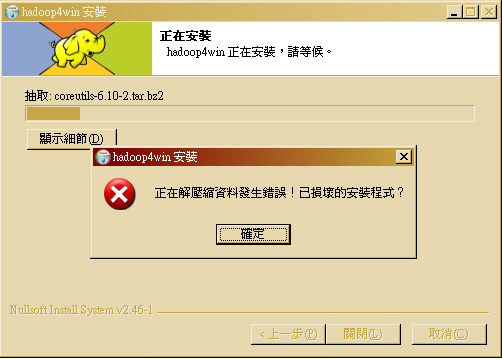
- 11-05-02_decompress_error.jpg (87.9 KB) - added by jazz 15 years ago.
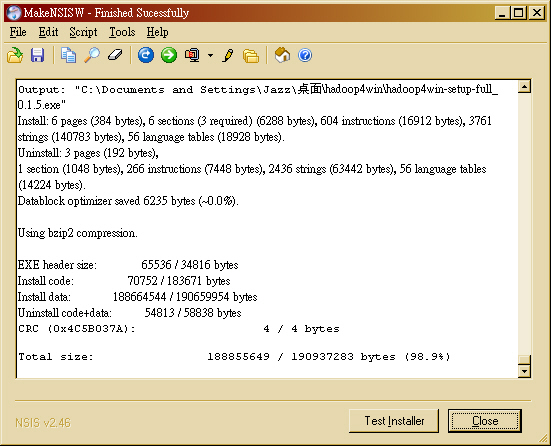
- 11-05-03_MakeNSIS_Win32.jpg (134.9 KB) - added by jazz 15 years ago.
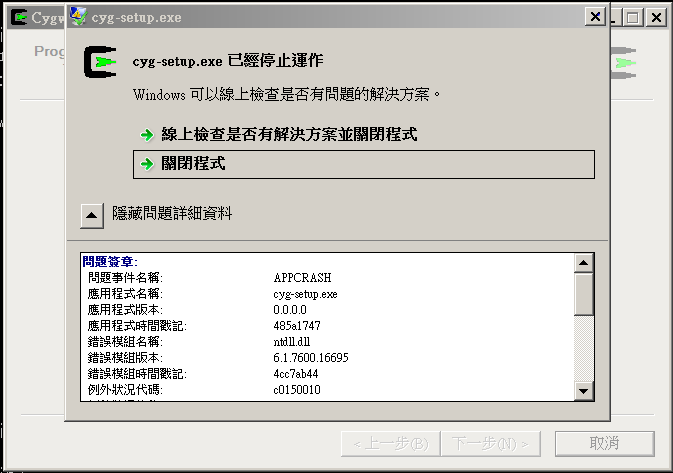
- 11-05-03_win7_cyg-setup_error.png (25.6 KB) - added by jazz 15 years ago.
- 13-07-01_hive_cygwin.png (19.8 KB) - added by jazz 13 years ago.